How to Put Together an English Bridle
Updated January 26, 2023
Video on How to Put Together an English Bridle
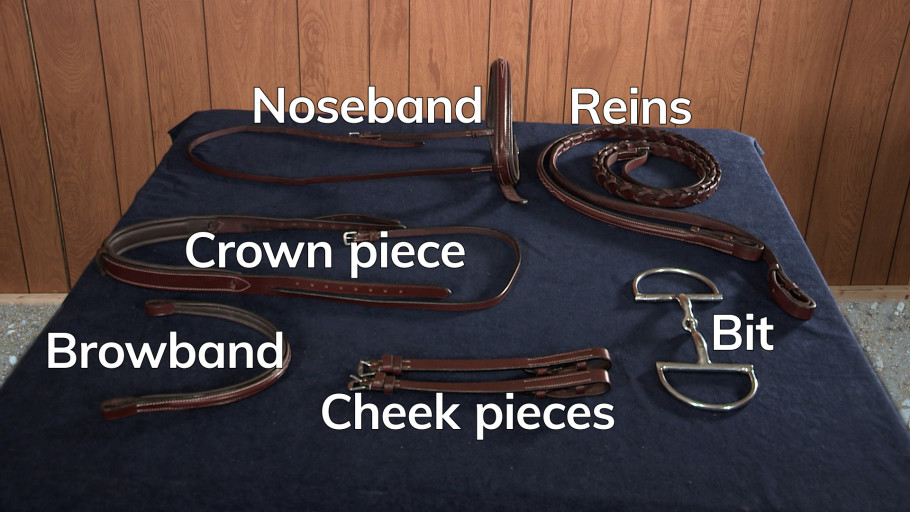
Putting together an English bridle can be challenging and confusing. Luckily for you, SmartPaker Lindsey is here to walk you through how to assemble an English bridle. In this video, she uses the Harwich Padded Fancy Stitch Bridle by SmartPak with a D-ring snaffle bit, however, these directions can be followed for assembling most brands of English bridles.
Step-by-Step How to Put Together an English Bridle
When you receive your new bridle, it will be in several different pieces and need to be assembled.

1. Put the browband on the crown piece.
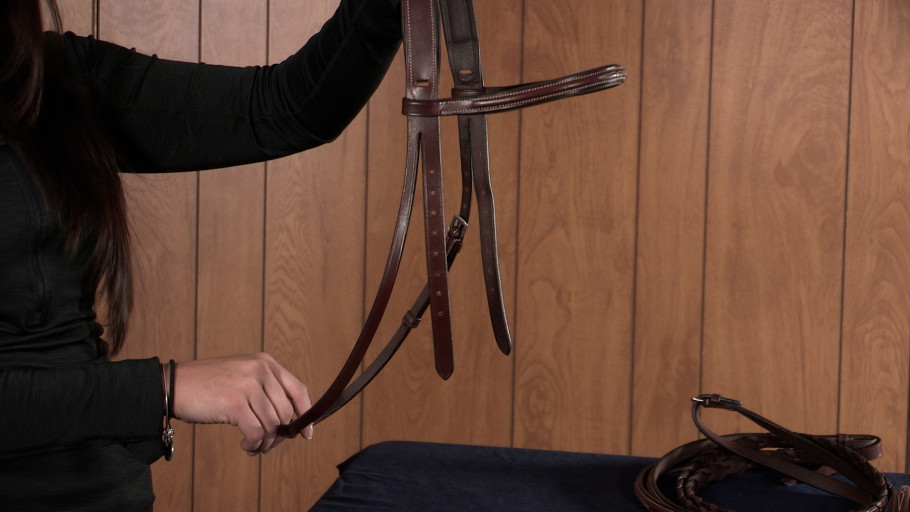
Hold the crown piece and make sure you know which direction it should face on your horse’s head. The throat latch (often a skinnier leather piece) will be towards the back so it can go underneath the cheeks. Feed the browband through the side of the crown piece. It's a snug fit, but it does go through with the keepers.
Check your work after you put your browband on your crown piece to make sure the browband is facing forward and the throat latch is facing back towards your horse's shoulder.

2. Put on the noseband.
The next component will be your noseband, also known as a cavesson.
For traditional bridles, the noseband will be a separate piece of leather that feeds under the crown and directly lays behind the horse’s ears on the skin. Feed the leather of the noseband through the browband and pull it through the other side so it lays flush underneath the crown piece. Attach the noseband buckle on the side.

Ergonomically designed bridles may require you to feed the noseband piece over the cavesson to reduce pressure on the poll and ears. Your bridle may also be a monocrown style, meaning the crownpiece and noseband are integrated into one piece, designed for the horse’s comfort.
3. Attach the cheek pieces.
The cheek pieces are thicker portions of leather and attach to the crown. Buckle the cheek pieces in the middle of the holes and don’t worry about putting the leather through the keepers at this time as you will need to adjust for your horse's individual fit.
4. Secure the bit onto the cheek pieces.
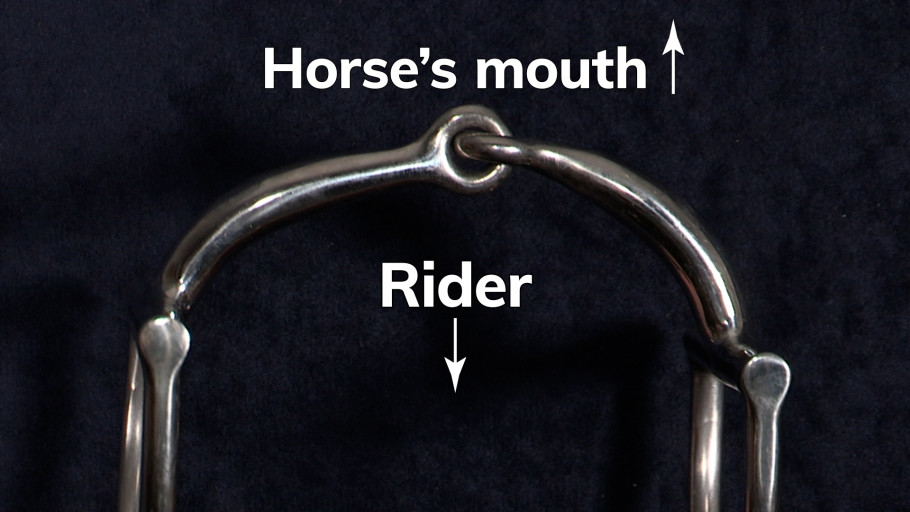
A common mistake when putting a bit on a bridle is to put it on backward. Luckily, it is easy to tell which way the bit faces. When checking your bit, the bend should be facing outward. You can double-check by folding the bit in half - if it lays flush, it’s correctly facing. Otherwise, it will bend the wrong way and not come together.

Making sure that your bridle is not twisted, take the cheek piece and put it on the ring of the bit so that the stitching is facing outward. Feed the bottom of the cheek piece through its keepers and the hook. Again, make sure your bit is not twisted and maintains the same bend, then do the same on the other side.
5. Attach the reins to the bit.
Make sure that the leather stitching is facing outward to match the rest of your bridle. Feed the rein through the keeper and then through your hook closure. Check that your reins are not twisted before attaching them to the other side.
And now you're ready to try your bridle on your horse! If you need help adjusting your bridle, follow our instructions and video on fitting a bridle to your horse.
Article originally published September 8, 2015.